
Build a custom workflow
Connect compatible image and PDF steps with advanced previews, guided editing, and reviewed exports.
Open Build a custom workflowWhen to use it
For photos of a document, choose Images as the source, add resize and crop, Images to PDF, and page numbers. Start advanced mode, arrange each image, preview the paper layout, and apply numbering to the resulting PDF.
Resize, crop and convert one image in order
Use the 1200 × 800 practice PNG.
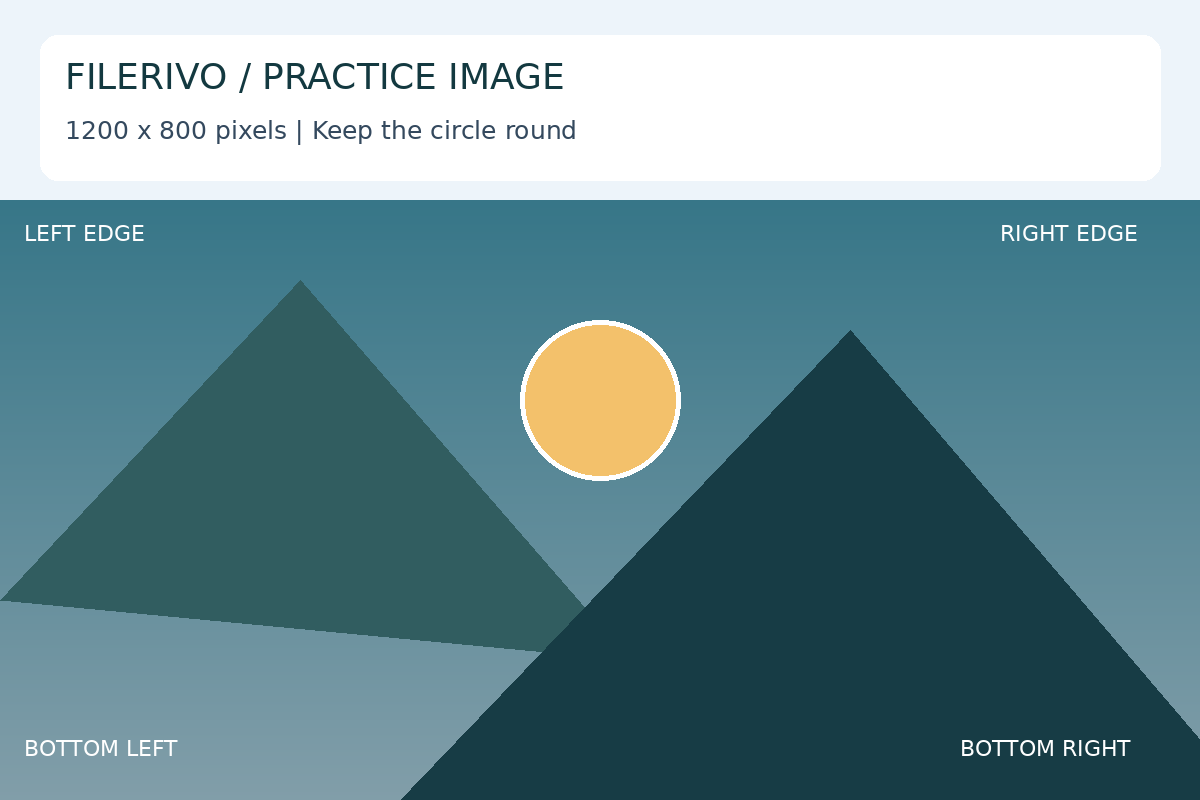
Filerivo-created demonstration files. No real personal or customer data. Settings below are a recipe, not an automatic preset.
- Choose Image workflow and add Resize image → Crop image → Convert images, with an image final output.
- In resize, use 600 × 400. Complete the step. In crop, choose Square and a centered 400 × 400 selection; complete it.
- Choose JPG in conversion, mark the last step as complete, then choose Preview and Download in the main action row.
- Finish any required recognition or advanced preview, then choose Apply in the main action row. Inspect Preview and choose Download to save that prepared copy. If you change a setting, Apply again.
- Expected result
- A square JPG, about 400 × 400 pixels when those selections are used. Each step receives the previous step’s result.
- Check before sharing
- Check dimensions and framing in the download. If you crop a smaller area, the result will have fewer pixels.
How to do it
- Open Build your workflow and choose the PDF workflow or Image workflow card. Each choice explains which file types to upload.
- Choose the tools you need. Drag selected tools onto numbered positions, or use the arrows to reorder them. Choose the final output. Editing options appear only in the current tool workspace.
- Add files and click Start workflow in Edit tools step by step. Each numbered tool opens in the Current tool workspace. Load or refresh previews and enable settings where shown. Edit the tool, then click Mark as complete & next. Your edits are saved and the next tool or file opens automatically. Its result becomes the next tool's input. Resize and crop are edited separately for each image; conversion and compression settings apply to the batch. Convert images, Compress image, and Images to PDF automatically show every image or page preview and use workspace settings without an extra advanced-settings checkbox.
- Use Go back to revisit the previous step. You can also select a completed numbered step. Revisiting clears that step and later results so you can apply new edits. Changing files, tool order, selected tools, or final output requires Restart workflow.
- After completing the last workflow step, choose Apply in the action row. Use Preview to inspect the prepared output, then Download. Keep the originals and inspect the downloaded file before sharing.
Preview and download
Complete each guided step with Mark as complete & next. Completing the final step automatically prepares the result. Choose Preview to inspect it, then Download to save it. Going back or changing settings requires completing the affected steps again. In quick mode, choose Preview to prepare the result first.
Use the advanced controls
Advanced controls are shown dimmed before a file is selected. Add a supported file to activate them. Where a Load preview or Extract button is shown, use it first; enable the tool's advanced-download checkbox to apply those settings. Changing files or tools clears unsaved edits.
Choose PDF workflow or Image workflow at the start. Then choose tools and drag them onto numbered positions to set the order. Arrow buttons also adjust the order. Choose the final output, add files, and click Start workflow. The Current tool workspace shows the selected step and its editing controls. Edit the tool, then click Mark as complete & next to save and automatically advance. Completing the last tool enables the Preview button. It opens a separate review window with a file selector and PDF page controls.
Resize and crop run separately for each image; batch compression and conversion apply shared settings. Convert images (JPG, PNG or WebP), compression, and Images to PDF show numbered previews for every input automatically. Select a thumbnail for a closer look. Their workspace settings are active immediately; click Mark as complete & next to continue. PDF page editing offers page numbers and visual selection. Split into individual pages, every N pages, or at marked split points. Later tools process each resulting PDF in turn. Word and TXT finishes allow review; PDF image export controls resolution and format; ZIP finishes offer folders and naming.
Go back or click a completed numbered step to revisit it; that step and all later results must be completed again. Changing files, tools, order, or final output requires Restart workflow. Close the final preview window and click Download.
Check the preview and download
Previews render at higher pixel density and are scaled to fit the page. They do not restore detail missing from the original, and their display size does not change export dimensions. For encoded-output comparisons, check both visible detail and the reported size. Always open the downloaded file for a final check.
Know the limits
Advanced workflows support up to 100 input files. Individual editors retain their limits: visual PDF editing and compression support 100 pages; English searchable-PDF OCR supports 30 pages; image canvases support 10,000 pixels per side and 25 million pixels. Some combinations are unavailable because one step's output does not match the next input. PDF compression must be last and removes searchable text, so it cannot be combined with OCR for a searchable result. Image-to-PDF layouts can embed WebP intermediate results through PNG conversion. Word and TXT review edits do not alter a searchable PDF's hidden OCR layer. Word is text only; typed signatures are visible marks, not verified digital signatures. Closing or changing files clears unsaved workflow edits. ZIP output is not encrypted.
Watch the walkthrough
Follow the tool in action. The YouTube player loads only when you choose to load it.
PDF Workflow: Split, Reorder, Rotate, Watermark and Sign
Follow a PDF through compatible steps and review the finished results in Final preview.
Watch on YouTubeImage Workflow: Resize, Crop, Compress and Convert
See the connected image workflow, including before-and-after comparisons and a final download check.
Watch on YouTubeTroubleshooting
A tool combination cannot be selected
The previous output must match the next input. Start with compatible image steps or a separate PDF workflow.
Preview is unavailable
Complete every selected step with Mark as complete & next. Merely changing a setting does not finish the step.
Later results disappeared after going back
Revisiting a completed step clears that step and downstream results. Reapply and complete the remaining steps before downloading.
Still stuck? Keep the original and note the tool, file type, approximate size and error message. Contact Filerivo with those details; do not email confidential files.