
Compress Multiple Images: Check Every File Before Sharing
Compress a batch of JPG, PNG or WebP images, inspect each encoded result, and check the downloaded ZIP with a two-file practice example.
Updated November 4, 2026 · instructions, sample example and troubleshooting reviewed.
When you compress several images together, one clear preview does not prove that every output is ready to share. A photograph, a diagram, and a scanned page can respond differently to the same settings. Use Compress image to compare each selected image, then extract the downloaded ZIP and inspect the actual files.
Prepare two JPG attachments in one batch
Suppose a recipient accepts JPG and needs a diagram and an English delivery-note scan. Use the fictional 1200 × 800 practice diagram and 1200 × 1500 practice scan. Keep both originals. This is a rehearsal with made-up details, not a measured size-saving claim.
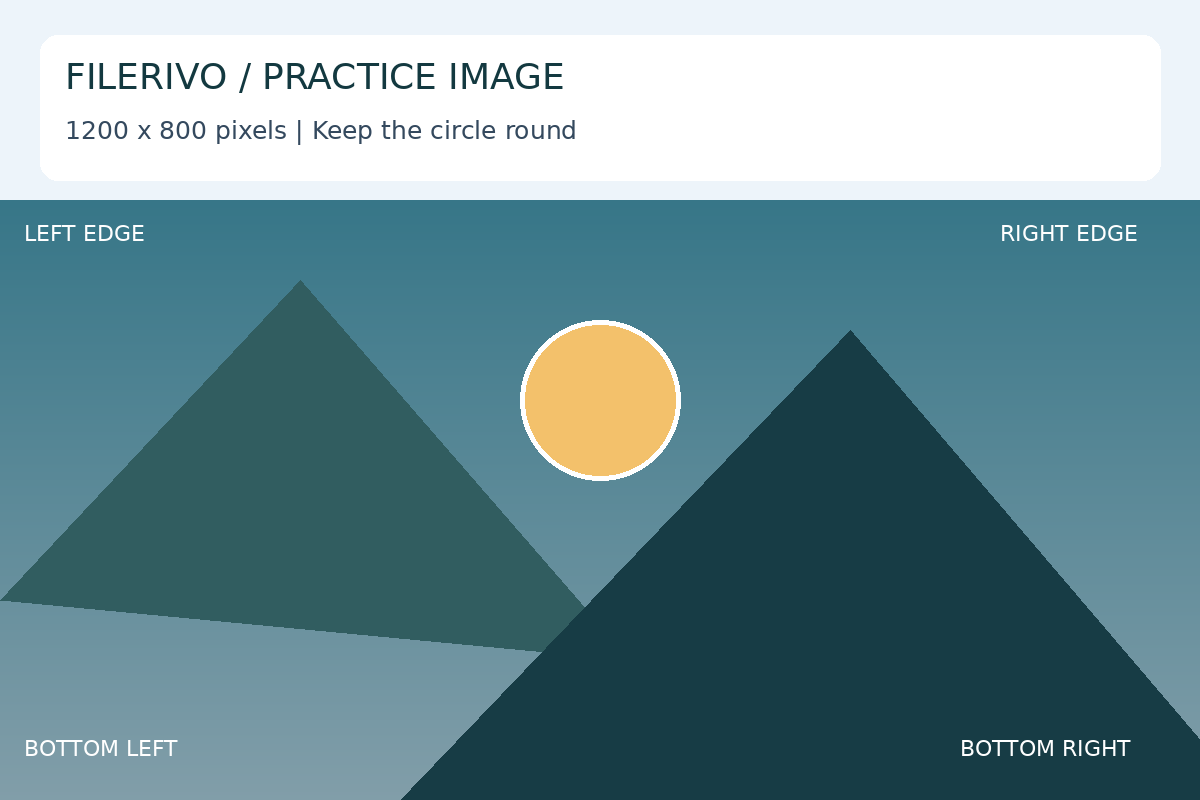
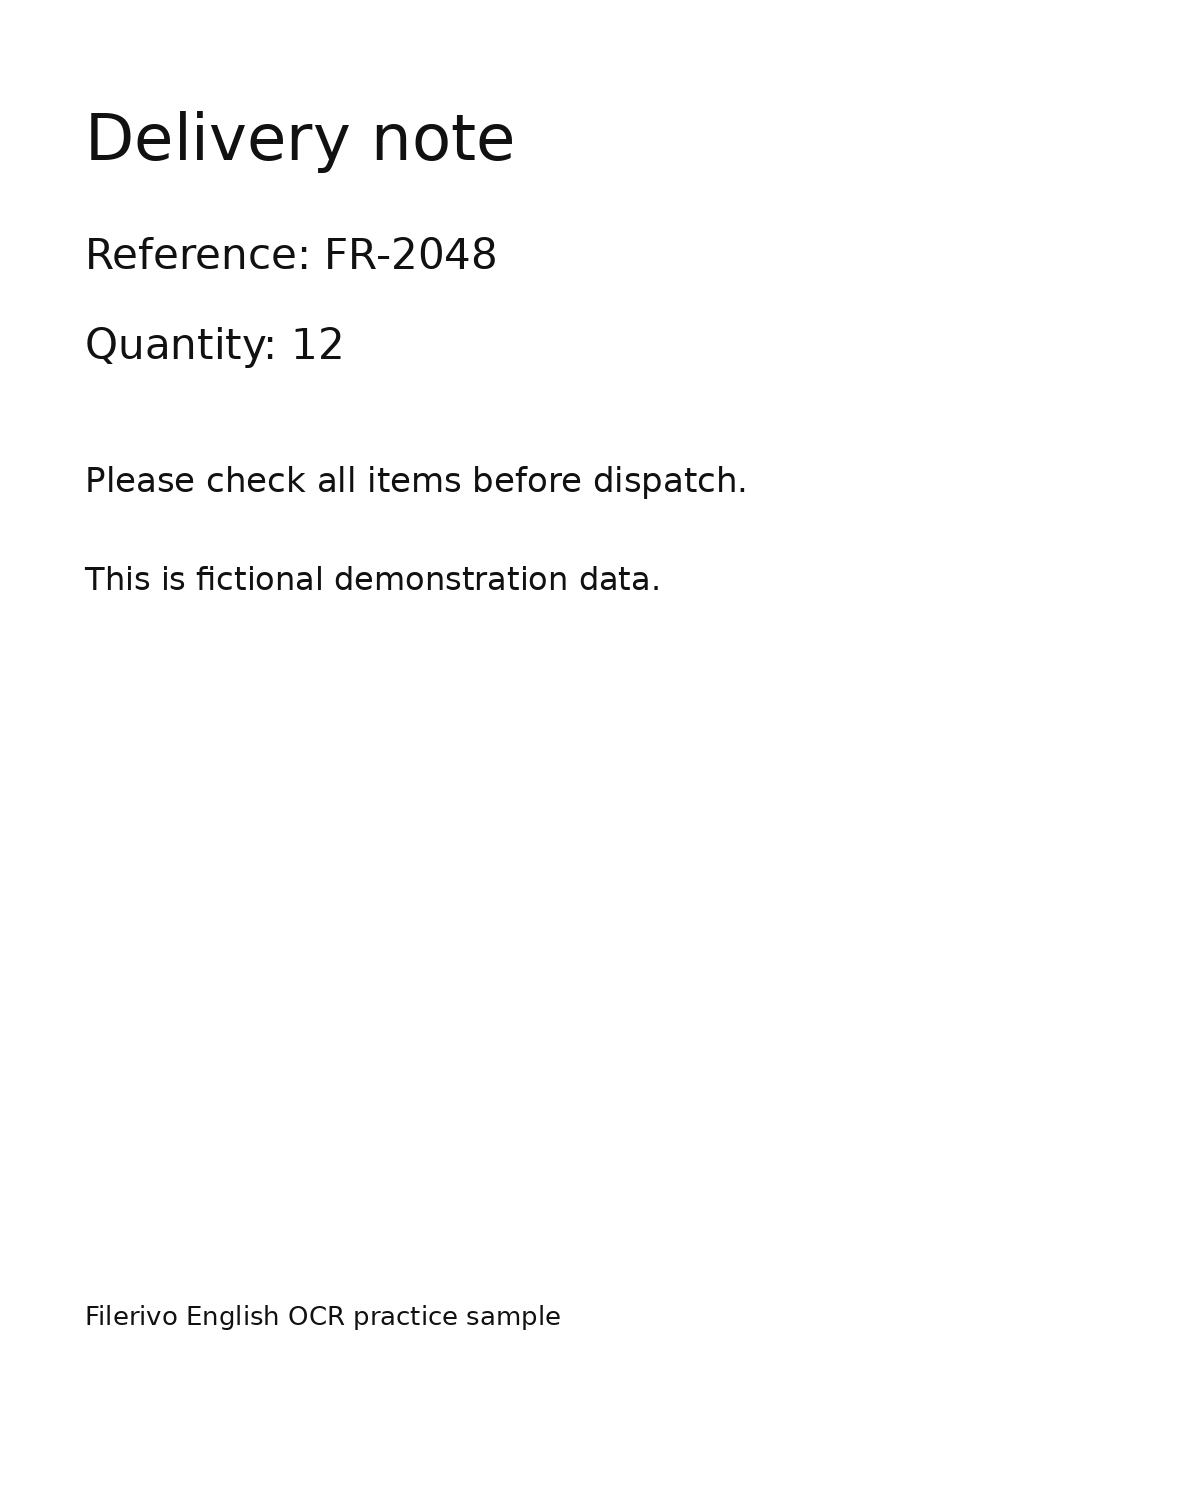
- Open Compress image and select both PNG files together. Wait for the advanced encoded comparison to appear.
- In the advanced controls, choose JPG, set Quality to 90%, and set Maximum width (px) to 900. Changing these controls enables advanced settings for all selected images. Leave that checkbox enabled.
- Use Preview image to select the diagram. Choose Pause comparison and inspect its labels and diagonal edges. Read the original and encoded sizes.
- Switch Preview image to the scan. Inspect the reference FR-2048 and Quantity: 12. Record this image's encoded size separately. The statistics describe the selected preview, not the total batch.
- If either result loses required detail, raise quality or retain more pixels, then check both previews again. These shared settings apply to both outputs. Use separate runs if the two files need different settings.
- Choose Compress images, download the ZIP, and extract it. Open each JPG and confirm its dimensions, lettering, and actual file size before attaching it.
Expected output: a ZIP containing two still JPG images. With the stated width limit, the diagram is 900 × 600 pixels and the scan is 900 × 1125 pixels. Byte sizes depend on the image and browser encoder; the JPGs may be larger than the source PNGs. These dimensions are a recipe expectation, not a promised compression ratio.
Check the downloaded result: confirm both images are present, match the intended source, and remain readable at their intended viewing size. Check individual sizes as well as the total attachment size. If the recipient needs individual images, attach the extracted JPGs rather than the ZIP.
Separate shared settings from individual results
Output format, quality, and maximum width are shared batch settings. Changing the preview selection changes which image you inspect; it does not give that file an independent quality setting. Recheck the batch after every adjustment.
A width limit preserves proportions and never enlarges a smaller source. Two inputs can therefore end up at different widths or heights. The comparison scales both views to fit its display area, so a similar-looking on-screen size does not establish equal export resolution.
The displayed saving or growth belongs to one image. A compact PNG can become larger as JPG even when its pixel count decreases. Choose the copy that meets the actual requirement, retaining the original when the encoded version is less useful. For a single email attachment, see how to make images smaller for email.
Know when to split the batch
Run files separately when one requires sharp PNG text or transparency and another needs JPG compatibility. The compressor accepts JPG, PNG, and WebP inputs and creates JPG or WebP outputs. JPG turns transparency white. For PNG output, use Convert images, or retain the original PNG if it fits.
Compression is lossy and cannot restore detail removed by an earlier export. Start again from the original when adjusting settings. Advanced output supports at most 10,000 pixels per side and 25 million pixels. There is no automatic target-byte-size control, and choosing 90% quality does not mean retaining 90% of the detail.
A scan remains an image after compression; the JPG does not gain selectable text. Use OCR scanned files separately if you need recognized English text, and proofread its result. Compressing an image is not secure redaction or a guarantee that private information has been removed.
Troubleshooting
One image looks good but another is blurry
Likely cause: shared settings suit one source better than another. Fix: choose the affected file in Preview image, retain more pixels or increase quality, and review both files again. Process them separately if their needs differ.
The download ignores the width I entered
Likely cause: advanced settings were disabled, so quick settings controlled the export. Fix: enable Use advanced settings for all selected images, refresh the comparison, and verify the reported output dimensions before downloading.
The ZIP is larger than I expected
Likely cause: the preview showed only one file, and some encoded outputs grew. The ZIP also has packaging overhead. Fix: extract it, compare each output with its original, and retain the smaller acceptable copies. Do not assume the preview percentage applies to the entire archive.
The recipient cannot upload the ZIP
Likely cause: the destination accepts individual images rather than archives. Fix: extract the ZIP and submit the supported images individually. Check the receiving site's current format and size rules.
For the complete control reference, see the image compression guide. When a task requires exact pixel dimensions before compression, use the resize guide.
Inspect the generated batch ZIP in the tool
With your intended compression settings enabled, choose Apply, then Preview. Apply builds the real batch ZIP; Preview lists its stored filenames and uncompressed entry sizes. Select each image to inspect its encoded appearance, dimensions and byte size. Download saves that same ZIP. This adds an in-tool check; still extract and inspect the attachments before sharing them.